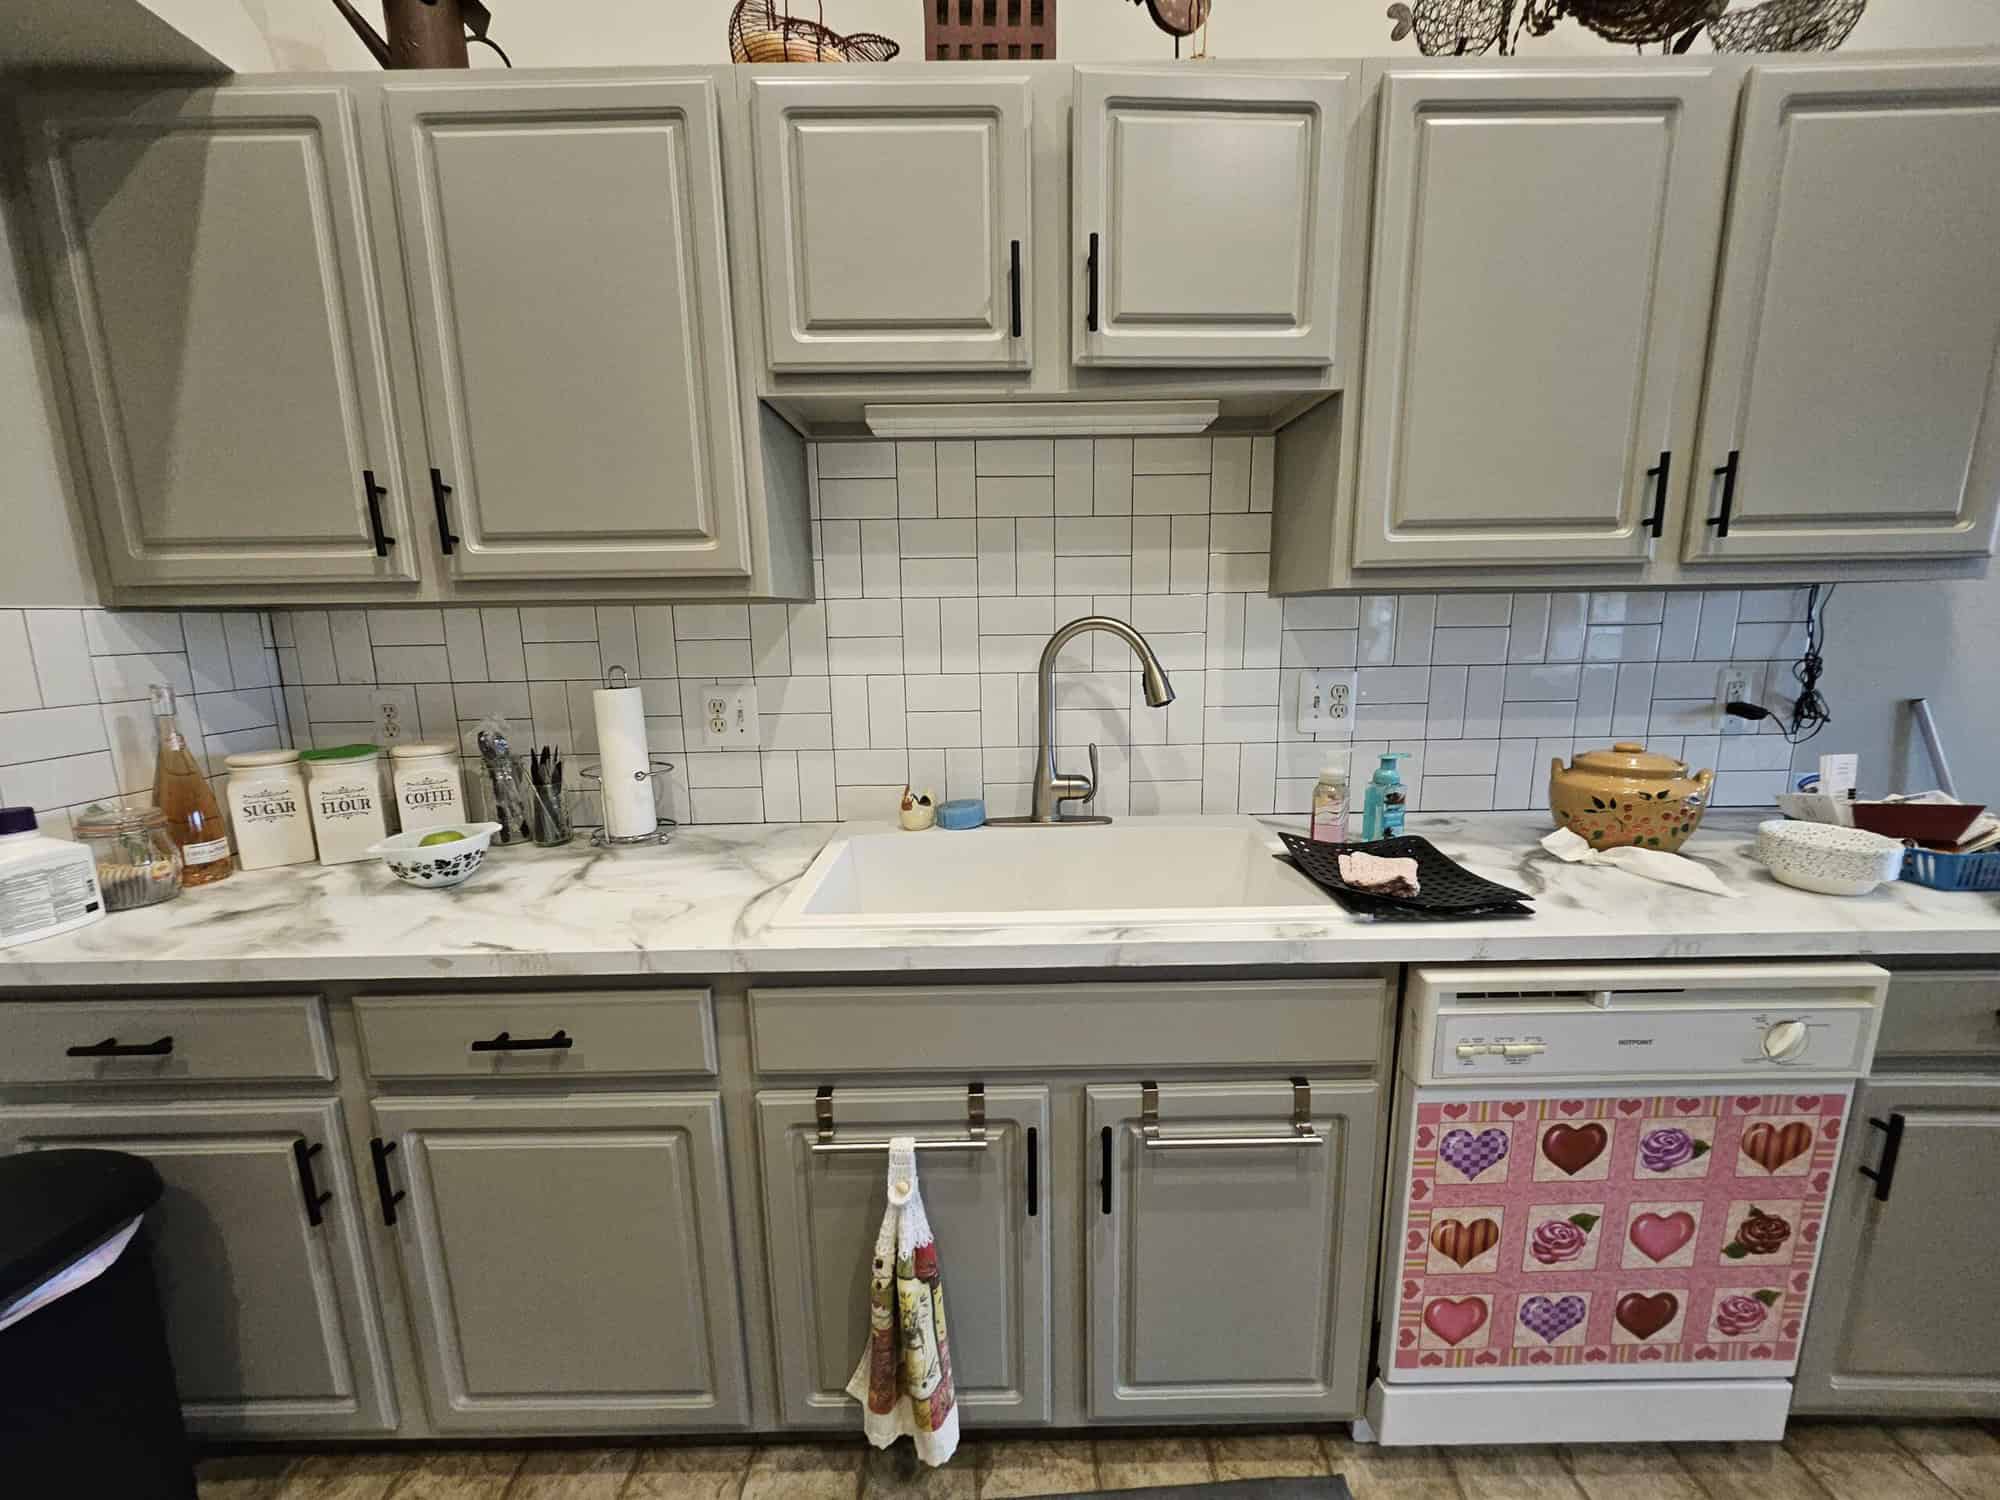
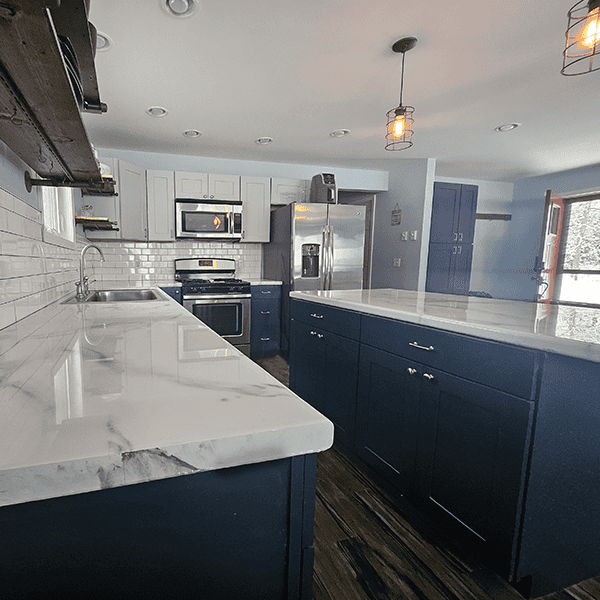
When done right, a cabinet respray can completely transform your kitchen or bathroom. It gives you a smooth, factory-grade finish, extends the life of your cabinets, and avoids the cost and waste of full replacement. But when it’s done wrong, the results are immediately obvious: chipping, sticky surfaces, rough textures, uneven color, and even doors that won’t close properly.
As the owner of Trio Painting, I’ve seen firsthand what goes wrong when prep, priming, application, or curing is skipped or done poorly. This guide highlights the 10 key warning signs that your cabinet respray wasn’t done correctly—and what each one tells you about the process.
Key Takeaways
-
Most failed cabinet resprays are caused by improper prep, wrong materials, or rushed application and curing.
-
Visible issues—peeling, cracking, orange peel texture—usually show within days or weeks.
-
Kitchens need durable, cabinet-grade coatings; standard wall paint fails quickly.
-
Professional resprayers use industrial primers, HVLP sprayers, and controlled spray setups.
-
Early detection of issues helps determine whether a touch-up or full redo is needed.
Why Cabinet Resprays Often Fail
Understanding why cabinet resprays go wrong is crucial if you want to avoid expensive mistakes.
The Complexity of Adhesion
Kitchen surfaces are challenging. Oils, soap residues, steam, and hand grease build up over time. Without thorough cleaning and scuff sanding, even high-end coatings will fail. Factory finishes rely on mechanical abrasion for adhesion, something many DIYers or inexperienced painters overlook.
DIY Paints and Hardware-Store Rollers
A common mistake is using wall paint or cheap trim enamel. These aren’t engineered for high-touch cabinet surfaces. Brush marks, soft finishes, and premature peeling are almost guaranteed.
Why Professional Equipment Matters
Industrial HVLP sprayers, dust-controlled spray booths, and proper ventilation drastically improve finish quality. Without them, overspray settles unevenly, particles stick, and finishes look gritty or textured.
Common Misconceptions
Some homeowners believe “primer isn’t always needed” or “paint will hide imperfections.” Others think “dry” means fully cured. All of these misconceptions often lead to failed resprays.
Sign #1: Peeling or Flaking Paint Within Weeks
Peeling is the most obvious warning sign that something went wrong during a cabinet respray. It usually points to a prep failure—either grease wasn’t fully removed, or the surface wasn’t sanded properly before priming.
Kitchens naturally accumulate invisible oils that resist paint adhesion, and glossy factory coatings often need to be scuff-sanded to provide a surface the primer can grip. Professionals prevent peeling by thoroughly degreasing with industrial cleaners, carefully scuff-sanding all surfaces, applying strong bonding primers, and ensuring proper curing in a controlled environment.
Sign #2: Bubbling, Blistering, or Raised Texture
Bubbles, blisters, or raised textures appear when moisture or contaminants get trapped beneath the coating. These imperfections can show up immediately after painting or shortly after drying, and they indicate that the surface wasn’t stabilized properly before priming. Common causes include spraying in high humidity, applying water-based primer over oily surfaces, or insufficient cleaning. Professionals avoid this by controlling the environment and preparing the surface meticulously.
Sign #3: Rough, Gritty, or “Orange Peel” Texture
A gritty or “orange peel” texture is typically caused by issues with the spray application. Sprayers that aren’t adjusted correctly, low-quality equipment, overspray settling on wet paint, or incorrect distance and speed all contribute to this flaw. A properly executed cabinet respray should result in a smooth, factory-like finish with zero unintended texture. Professionals achieve this using fine-finish HVLP systems with built-in filtration, light sanding between coats, and carefully controlled airflow in spray booths.
Sign #4: Visible Brush Marks or Roller Strokes
Cabinets should never show brush or roller marks after a respray. Marks typically appear when painters use wall-paint tools or thick paints not formulated for leveling. The industry standard is a factory-smooth sprayed finish with even coverage, free of strokes or streaks. Professionals rely exclusively on HVLP spray guns to achieve this result.
Sign #5: Sticky, Soft, or Tacky Paint Days After Completion
If your freshly painted cabinets remain soft or tacky, it is a clear sign the coating hasn’t cured properly. This may result from using the wrong paint—often standard latex—applying it too thickly, or working under unfavorable environmental conditions. Sticky paint leaves fingerprints, causes doors and drawers to stick, and makes surfaces prone to scratches. In professional applications, coatings become touch-dry within hours, allow light handling after 24 hours, and reach full cure within 7–14 days depending on the product.
Sign #6: Uneven Color, Patchy Areas, or Mismatched Sheen
Uneven color, patchy areas, or inconsistent sheen can immediately reduce the visual appeal of a cabinet respray. These flaws often result from missed sanding spots, thin or insufficient primer, inconsistent spray passes, or using low-quality paint. A well-done respray will show uniform color and sheen from every angle, whether matte, satin, or semi-gloss. Unfortunately, some contractors cut corners by using single-coat applications, skipping sandable primers, or choosing bargain paints.
Sign #7: Paint Cracking at Edges, Doors, or Grooves
Cracking typically occurs when paint is applied too heavily or in conditions with uncontrolled temperature or humidity. It is especially common on carved profiles or detailed edges. Cracking indicates the paint failed to stretch and bond with the cabinet substrate. Professionals prevent cracking by applying multiple thin coats rather than one heavy layer, using coatings formulated for flexibility, and maintaining proper environmental control.
Sign #8: Overspray on Walls, Countertops, Floors, or Appliances

Overspray is often a telltale sign of an unprofessional setup. When masking and containment are lacking, paint mist can land on walls, fixtures, countertops, or floors. This is usually accompanied by dust settling into the finish, creating an uneven texture. Experienced painters control overspray by setting up zip walls, using plastic sheeting, enclosing work zones, and managing ventilation systems to protect both surfaces and air quality.
Sign #9: Doors Don’t Close Properly After Reinstallation
If doors won’t close correctly after a respray, the problem is usually functional rather than purely cosmetic. This happens when doors aren’t labeled prior to removal, hinges are misaligned during reinstalling, or paint buildup thickens the edges. The result is crooked doors, uneven gaps, and rubbing edges. Professionals prevent these issues by numbering all components, protecting hinge recesses, and reinstalling each door with precision adjustments.
Sign #10: Chips, Scratches, or Visible Wear Within Weeks
Early chips, scratches, or wear are almost always caused by the wrong coating system or improper prep. Using wall paint instead of cabinet-grade coatings like 2K polyurethane, catalyzed lacquer, or waterborne alkyd hybrids leads to surfaces that cannot withstand everyday handling. These professional systems are formulated for kitchens and bathrooms, providing durability against heat, moisture, and constant contact, ensuring your respray lasts.
When to Fix vs. Redo Your Cabinet Respray
Not every flaw requires a full redo. Minor chips, dust nibs, or light texture irregularities can usually be repaired with spot sanding and touch-ups. However, more severe issues—such as widespread peeling, cracks, heavy orange peel, soft finishes, or extreme color inconsistencies—typically require stripping and respraying the cabinets entirely. While repairs are more cost-effective, they may not fully restore the factory-quality look of a professional cabinet respray.
How Professional Cabinet Respray Experts Prevent Issues
-
Detailed prep: Degreasing, scuff sanding, repairs, filling, sandable primer, dust removal.
-
Controlled spraying environment: Dust-free booths, proper ventilation, temperature and humidity control.
-
Industrial coatings: Durable, scratch-resistant, easy to clean.
-
Quality assurance: Multiple thin coats, light sanding between coats, inspection under bright lighting, and proper curing.
By following this method, a professional cabinet respray delivers a finish that’s smooth, long-lasting, and resistant to everyday wear.
Protect Your Investment
A cabinet respray should leave your kitchen or bathroom looking modern, fresh, and professionally finished. If you notice peeling, uneven textures, sticky paint, or color inconsistencies, these are clear warning signs.
Understanding these issues helps you decide whether a touch-up is enough, or if a complete redo with a true expert is necessary. At Trio Painting, we specialize in high-quality cabinet painting and have helped homeowners across Birmingham, MI achieve lasting results.
A proper cabinet respray doesn’t just look good—it adds value, durability, and extends the life of your cabinetry. Don’t settle for shortcuts or inexperienced contractors. Recognize the signs early, and your kitchen will remain beautiful and functional for years to come.
If your cabinets are showing early signs of wear or you want a flawless cabinet respray the first time, contact us today for a consultation and free quote.